As Built Documentation - A Critical Component of Your Renovation and Remodel
Remodeling is an art that requires many talents – of course craftsmanship and technical knowledge – but also creativity AND organizational skills. No other step in the process taps into all of those trades quite like as-built documentation.
When we pull out a tape measure, we do not only document distances, but how pieces are put together. Knowing why a post is in a particular location, or noting that a duct bisects a space helps the team document the as-built properly and makes communication during all phases of construction clearer and more concise.
While measuring a house might sound simple and straightforward, it takes a seasoned crew to be efficient! Our team has a well-vetted checklist of things to measure and note, in addition to an order of operations that helps ensure nothing is missed and our client’s time is well-spent. Here is a peek into how we go about collecting this data:
HOT TIP: Make sure to take breaks and have plenty of snacks and drinks on hand. Making mistakes during site measures can waste a lot of time, so making sure everyone is energized is key!

1. We walk through the spaces as a team and review the goals of the project.
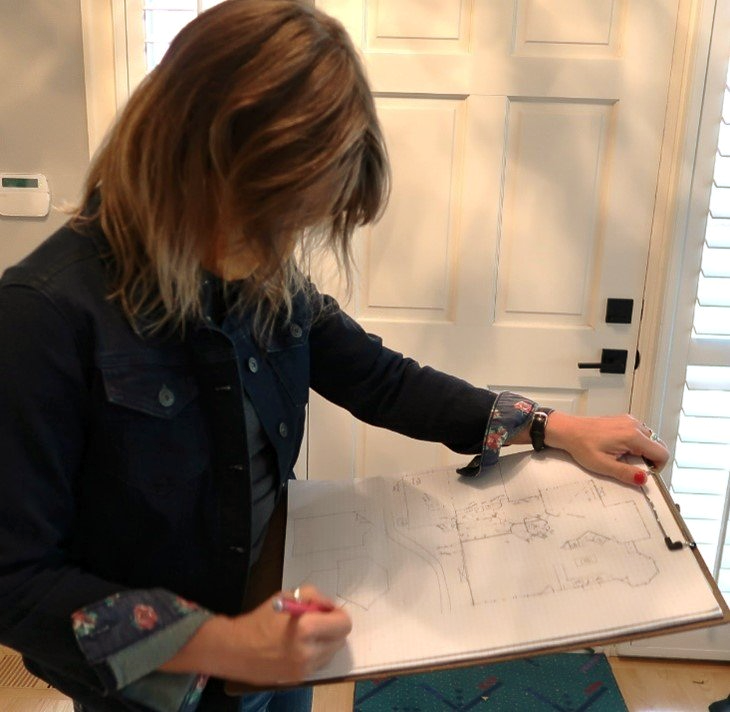
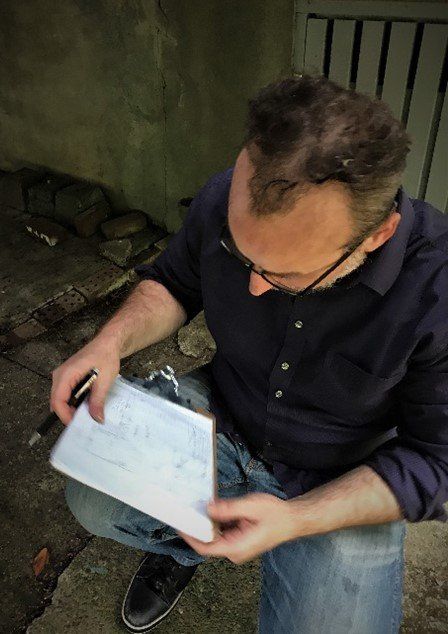
2. Once we wrap up our walk through, we sketch the lot, floorplans and the exterior elevations, making sure to include all mechanical, electrical, and plumbing features. Major utilities such as the electric panels, gas and water meters, water heaters, and furnaces are captured as well, which helps us to determine if any of the utilities need to be upgraded to accommodate changes we propose down the line. We locate trees and hardscape on the lot as well.
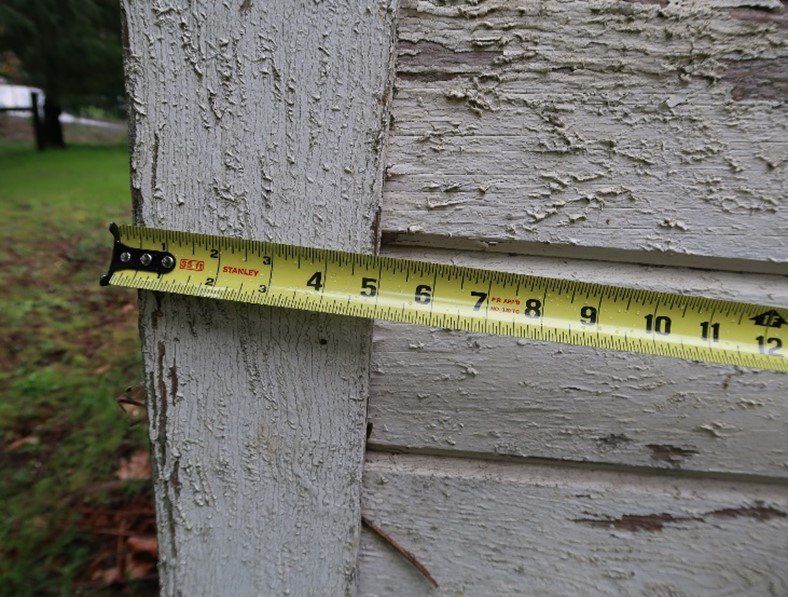
3. We note the ceiling and wall material and texture for each area, as well as flooring material and direction. A millwork comb is used to collect information on millwork, from siding to base molding to casings and crowns. This helps us to make sure the areas we remodel or add onto blend seamlessly with the rest of the structure.
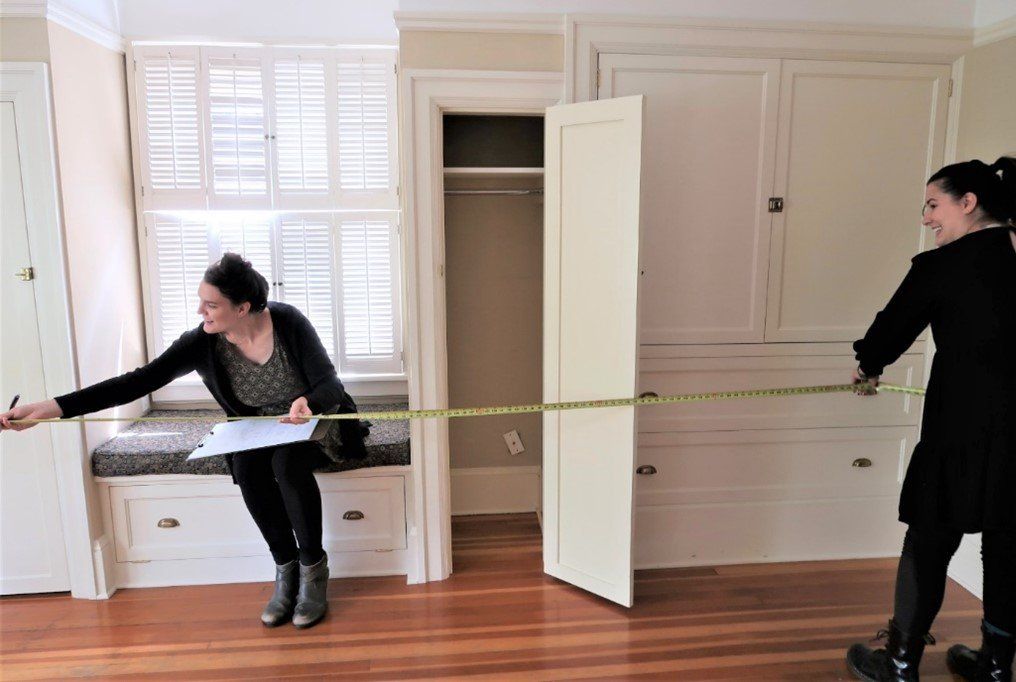
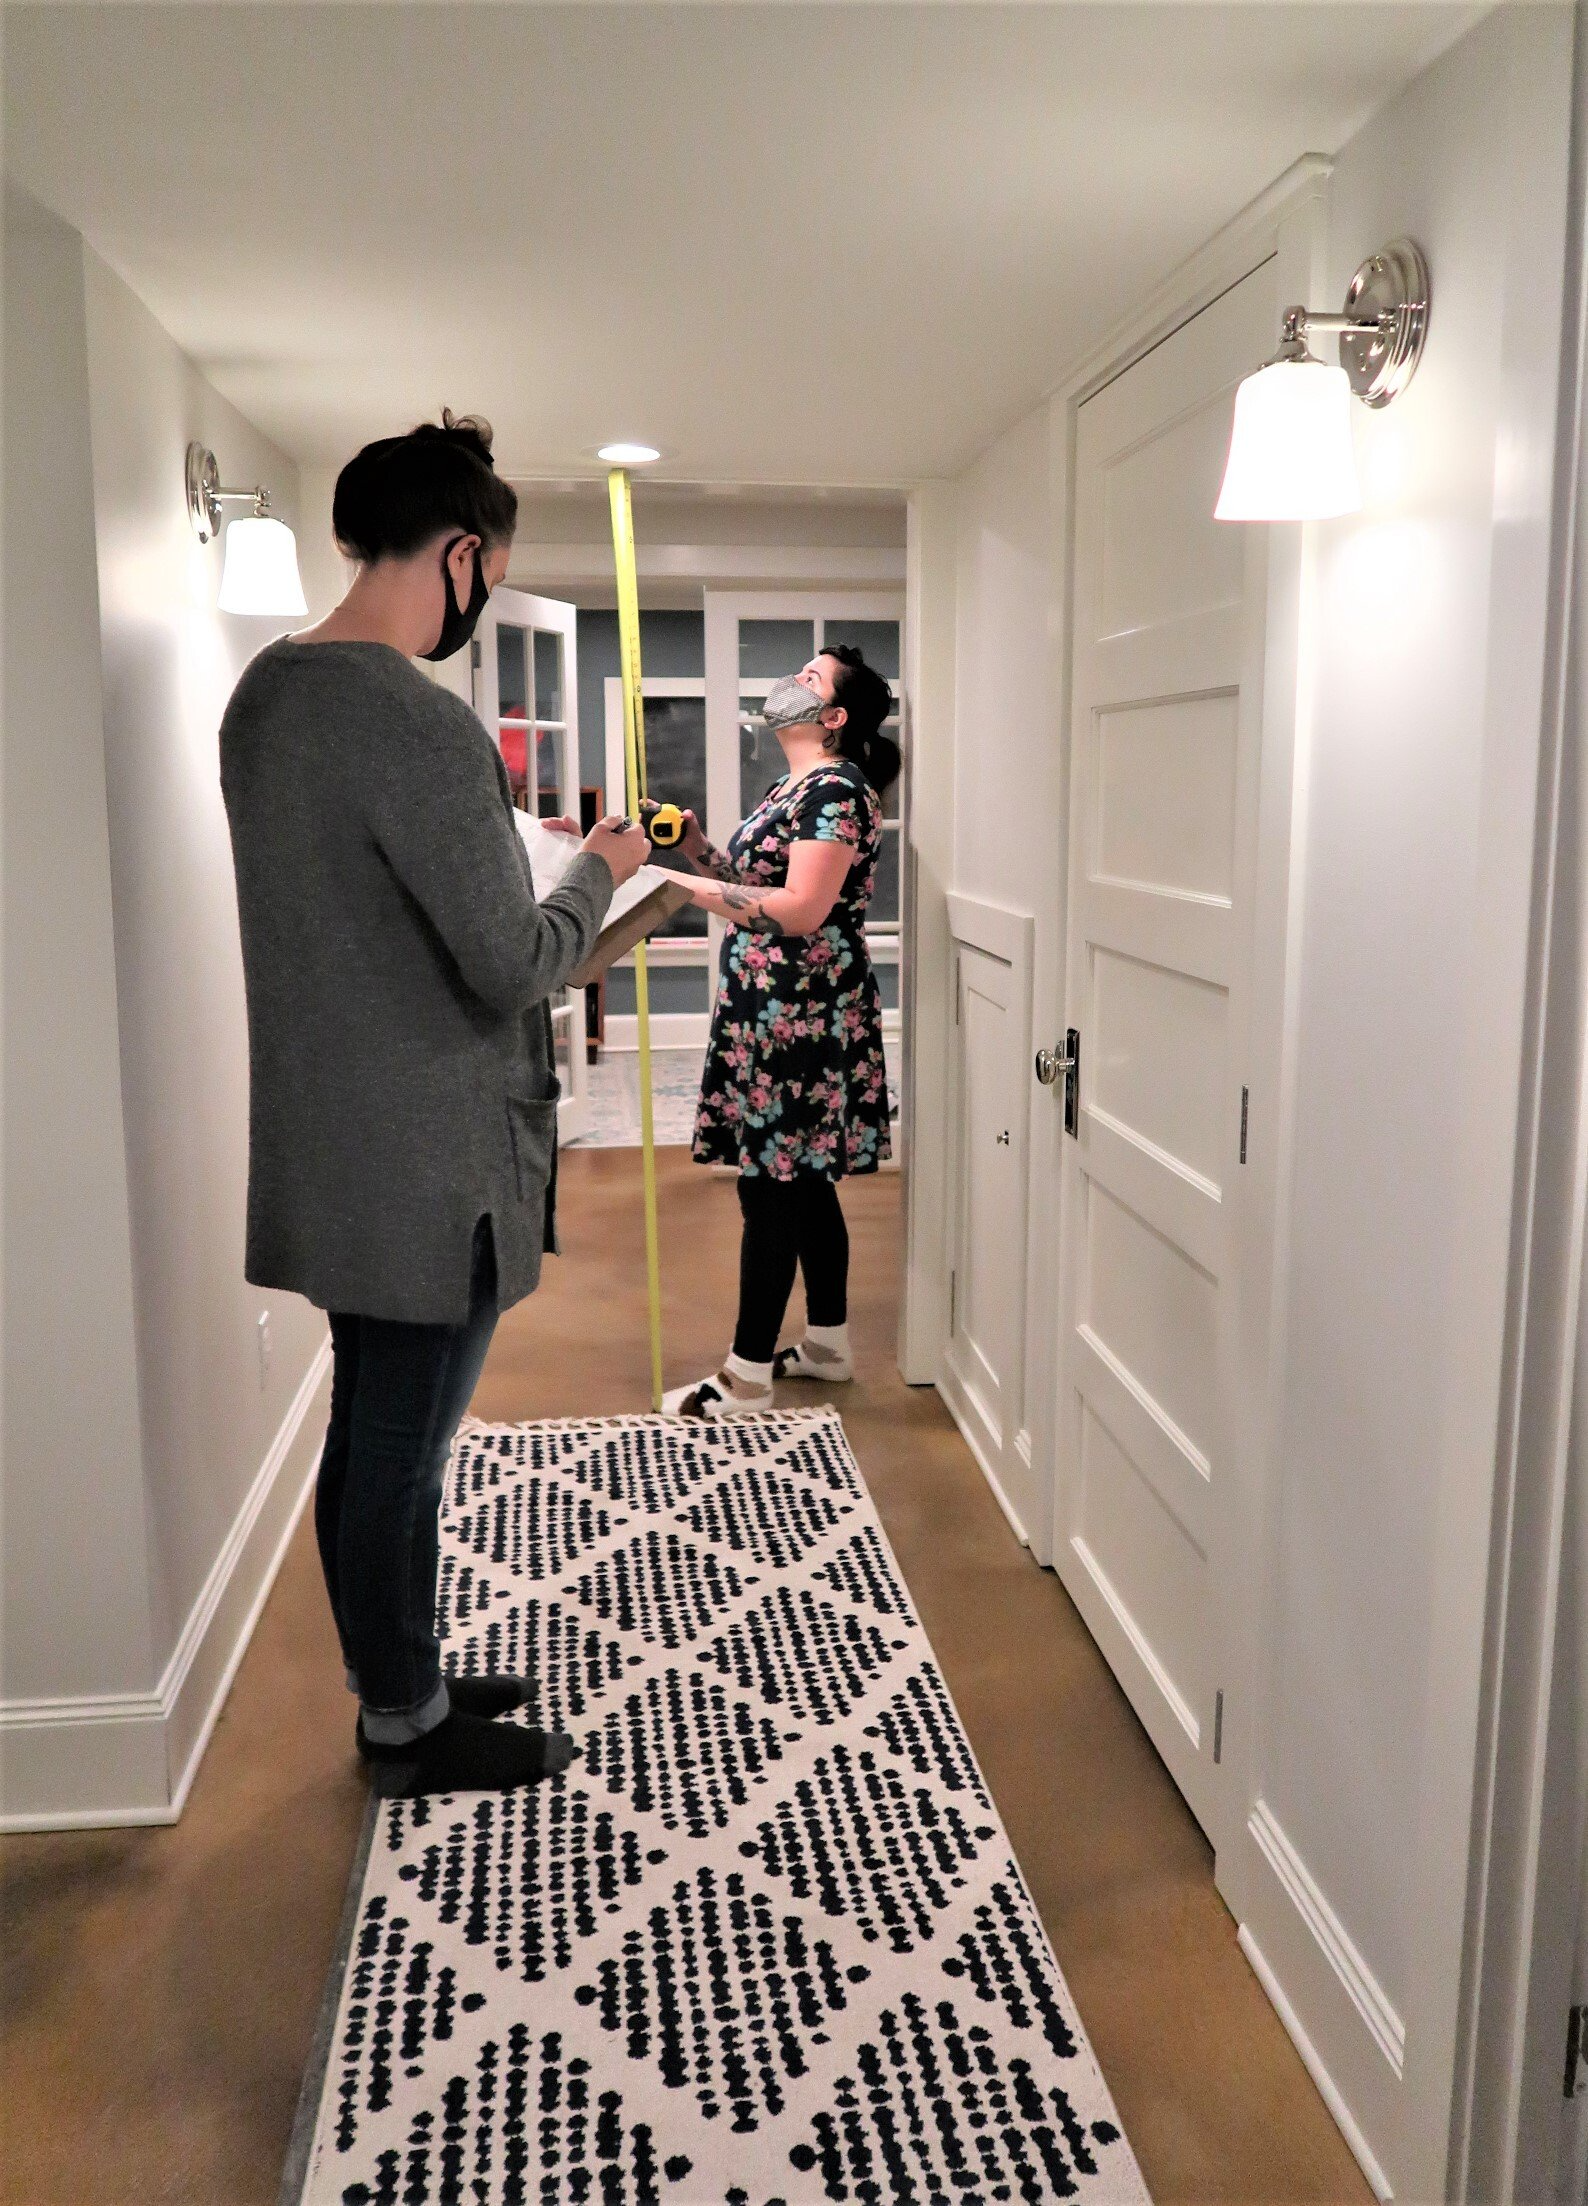
4. Once our sketches are complete, we go room by room, first measuring the ceiling height, then the overall measurements from wall to wall. Then, we start in one corner and move around the room clockwise, noting the width, height, and header of each window and door, as well as the spaces between them. Door jamb thicknesses are measured at each door so that the wall thicknesses can be drawn into our 3D model correctly. Sticking to this sequence prevents us from missing details or skipping a step.
HOT TIP: We divide into teams of two so one person can gather the measurements, while the other holds the “dumb” end of the tape and records the information on the plan.
5. Once we have made our way back to the corner we started in, we measure any soffits and get centerlines on plumbing fixtures and appliances. If any registers are in locations we’ll need to work around, we make sure to get their sizes and centerlines too. This is important, as systems hidden behind walls or soffits can very much affect the design decisions.
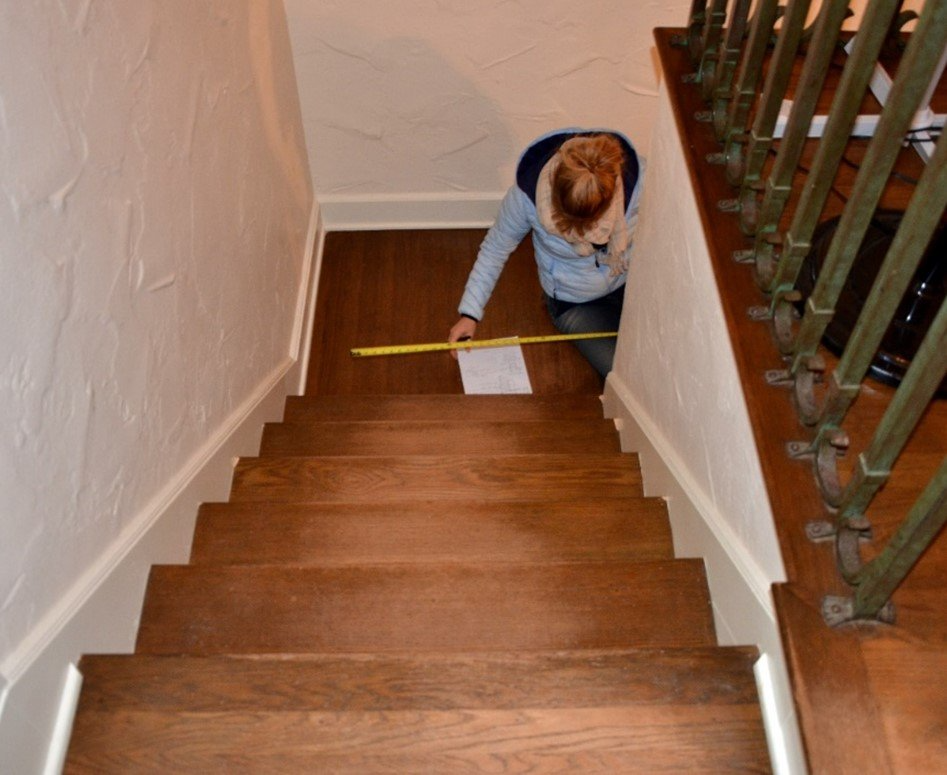
6. If the house has stairs, we note the width of the stairs, nose depth, and rise and run for each step.
HOT TIP: If there isn’t a place to clearly measure the height of the floor joists, stairs can help you determine this! All you need to do is add up the risers, then subtract the ceiling height of the level the stairs start on. A little bit of math subtracting sheetrock, flooring, and sub flooring thicknesses will get you the joist size!
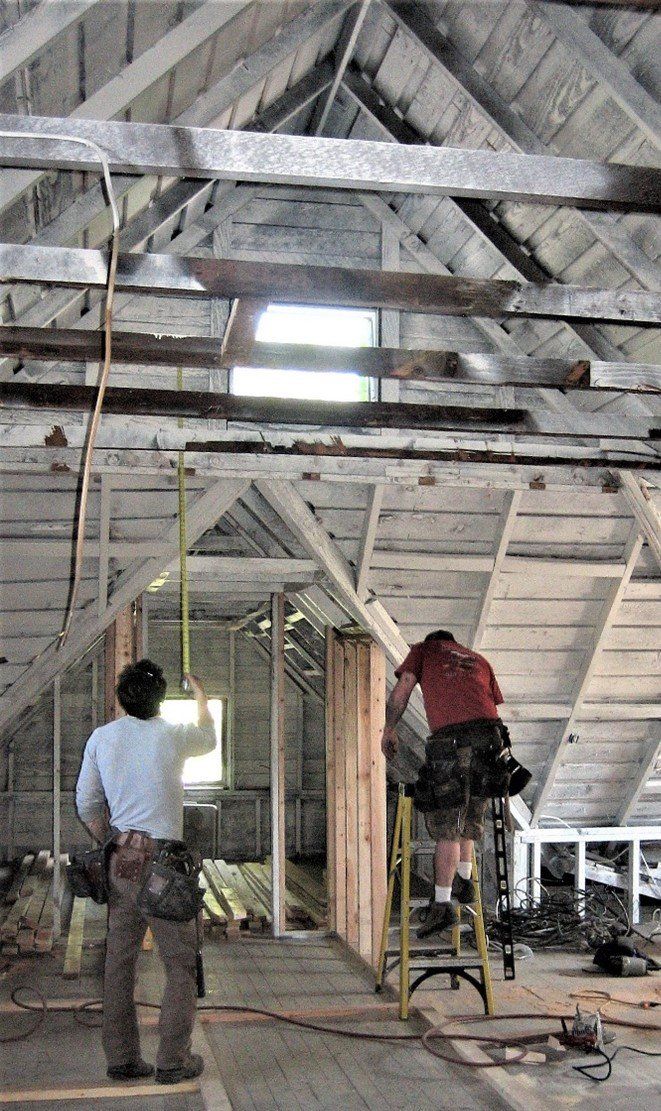
7. When measuring basements and attics, we make sure to capture as many structural details as possible, including size and spacing for floor and ceiling joists, structural posts and beams, rafters and roof pitch, foundation types and dimensions, and sheathing information. This data helps with designing and engineering changes or additions to the structure.
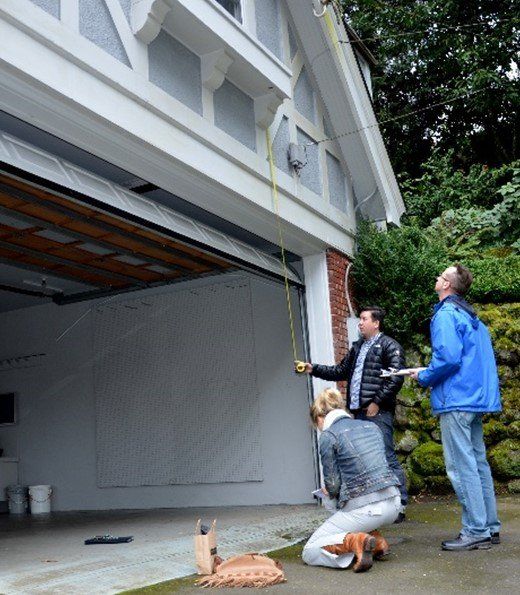
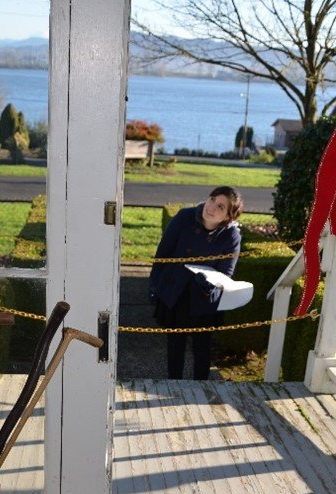
8. Lastly, the exterior details of the home are captured, including siding and millwork details, hose bib and utility locations, any large trees, fence lines, etc.
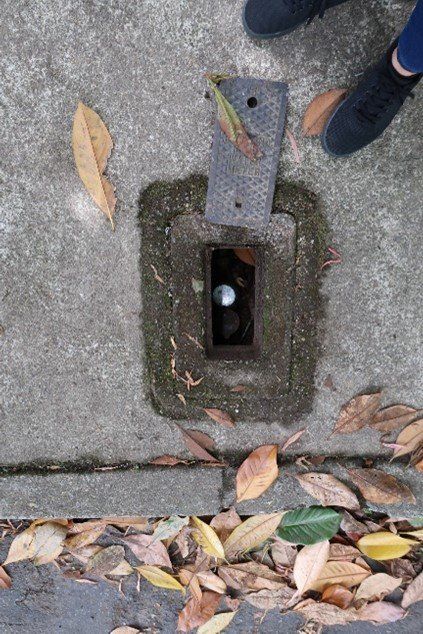
HOT TIP: The City of Portland provides a free service called Locate Service. A technician comes to the site and locates underground lines like gas, sewer, and water. This service is required when pulling a permit for an addition.

All of the data we collect during our site measures then gets translated into a Chief Architect 3D model of the existing home, called the as-built. This model lays the foundation for the preliminary design options and allows our designers to easily make changes, see them in 3D, and share them with our clients, subs, and build team members.
Site measures are an intimate look into the structure, style, and history of a home. There is so much more to a home than what meets the eye. This is why the site measure phase of our design process is so crucial to setting up our team for success. There is always a buzz of excitement when we make our way back to our cars after a measure… possibilities abound!
Click here to read Site Measures – Part 2: Capturing Mechanical, Electrical & Plumbing Systems
See More Stories