Whether you’ve never tackled a remodeling project before or you’re a seasoned home-improvement pro, the design process can seem daunting at times. Many firms have their own way of doing things and sometimes these methods are a bit convoluted or mysterious.
In this series, we’ll take you on a step-by-step tour through the Arciform design process so that you know what to expect when planning a home improvement project. In case you missed it – be sure to start with Part 1 which covers the first steps in the design process, measuring and documenting existing conditions.
Step 3: Conceptual Design
After documenting the existing conditions, Senior Designer Kristyn Bester was able to come up with a number of options for this cottage remodel based on the client’s wants and needs for the space. Here at Arciform it is important to us to respect the history and architecture of your home, so the designer will always keep that in mind when designing.

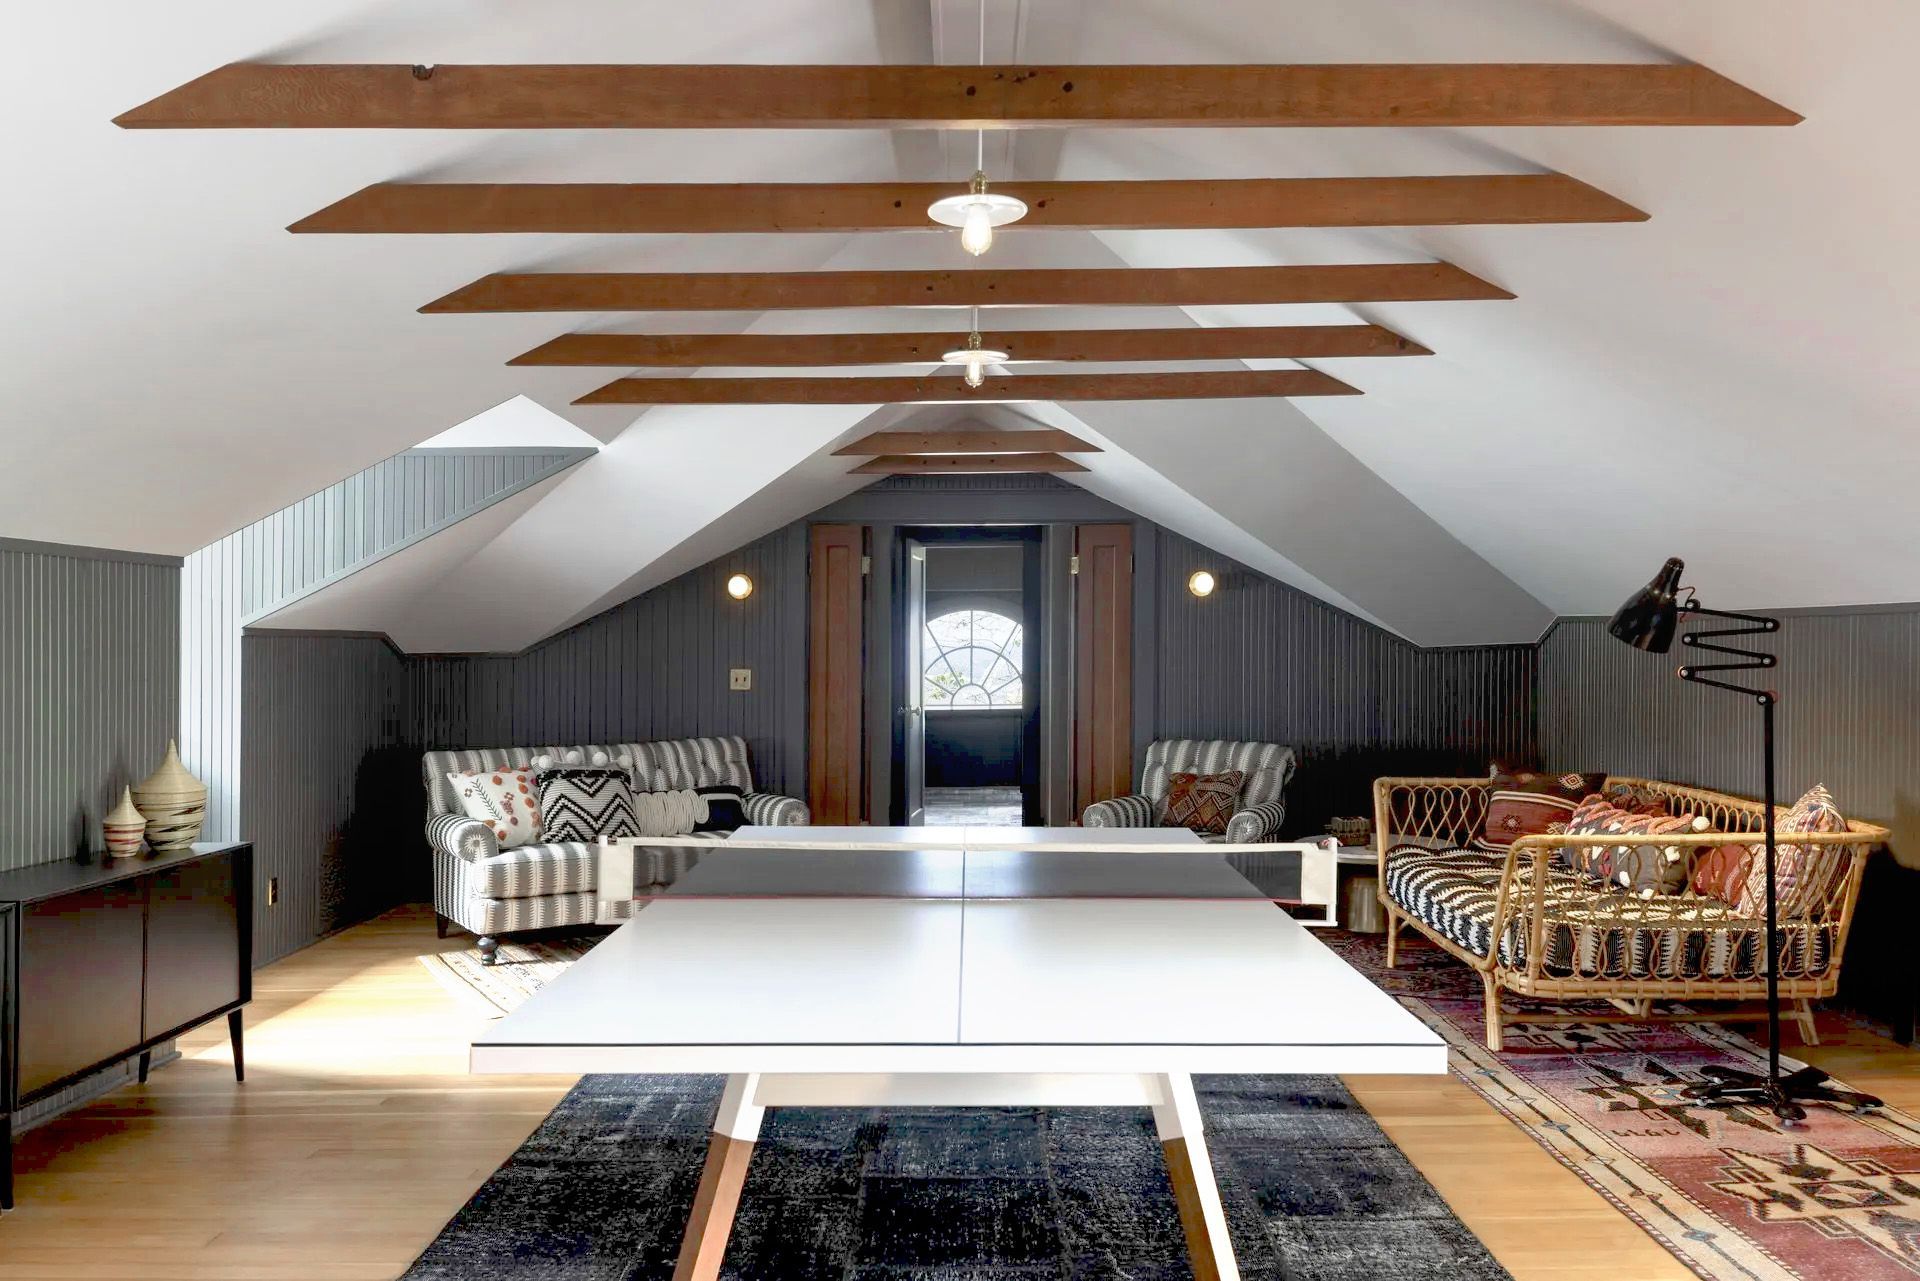
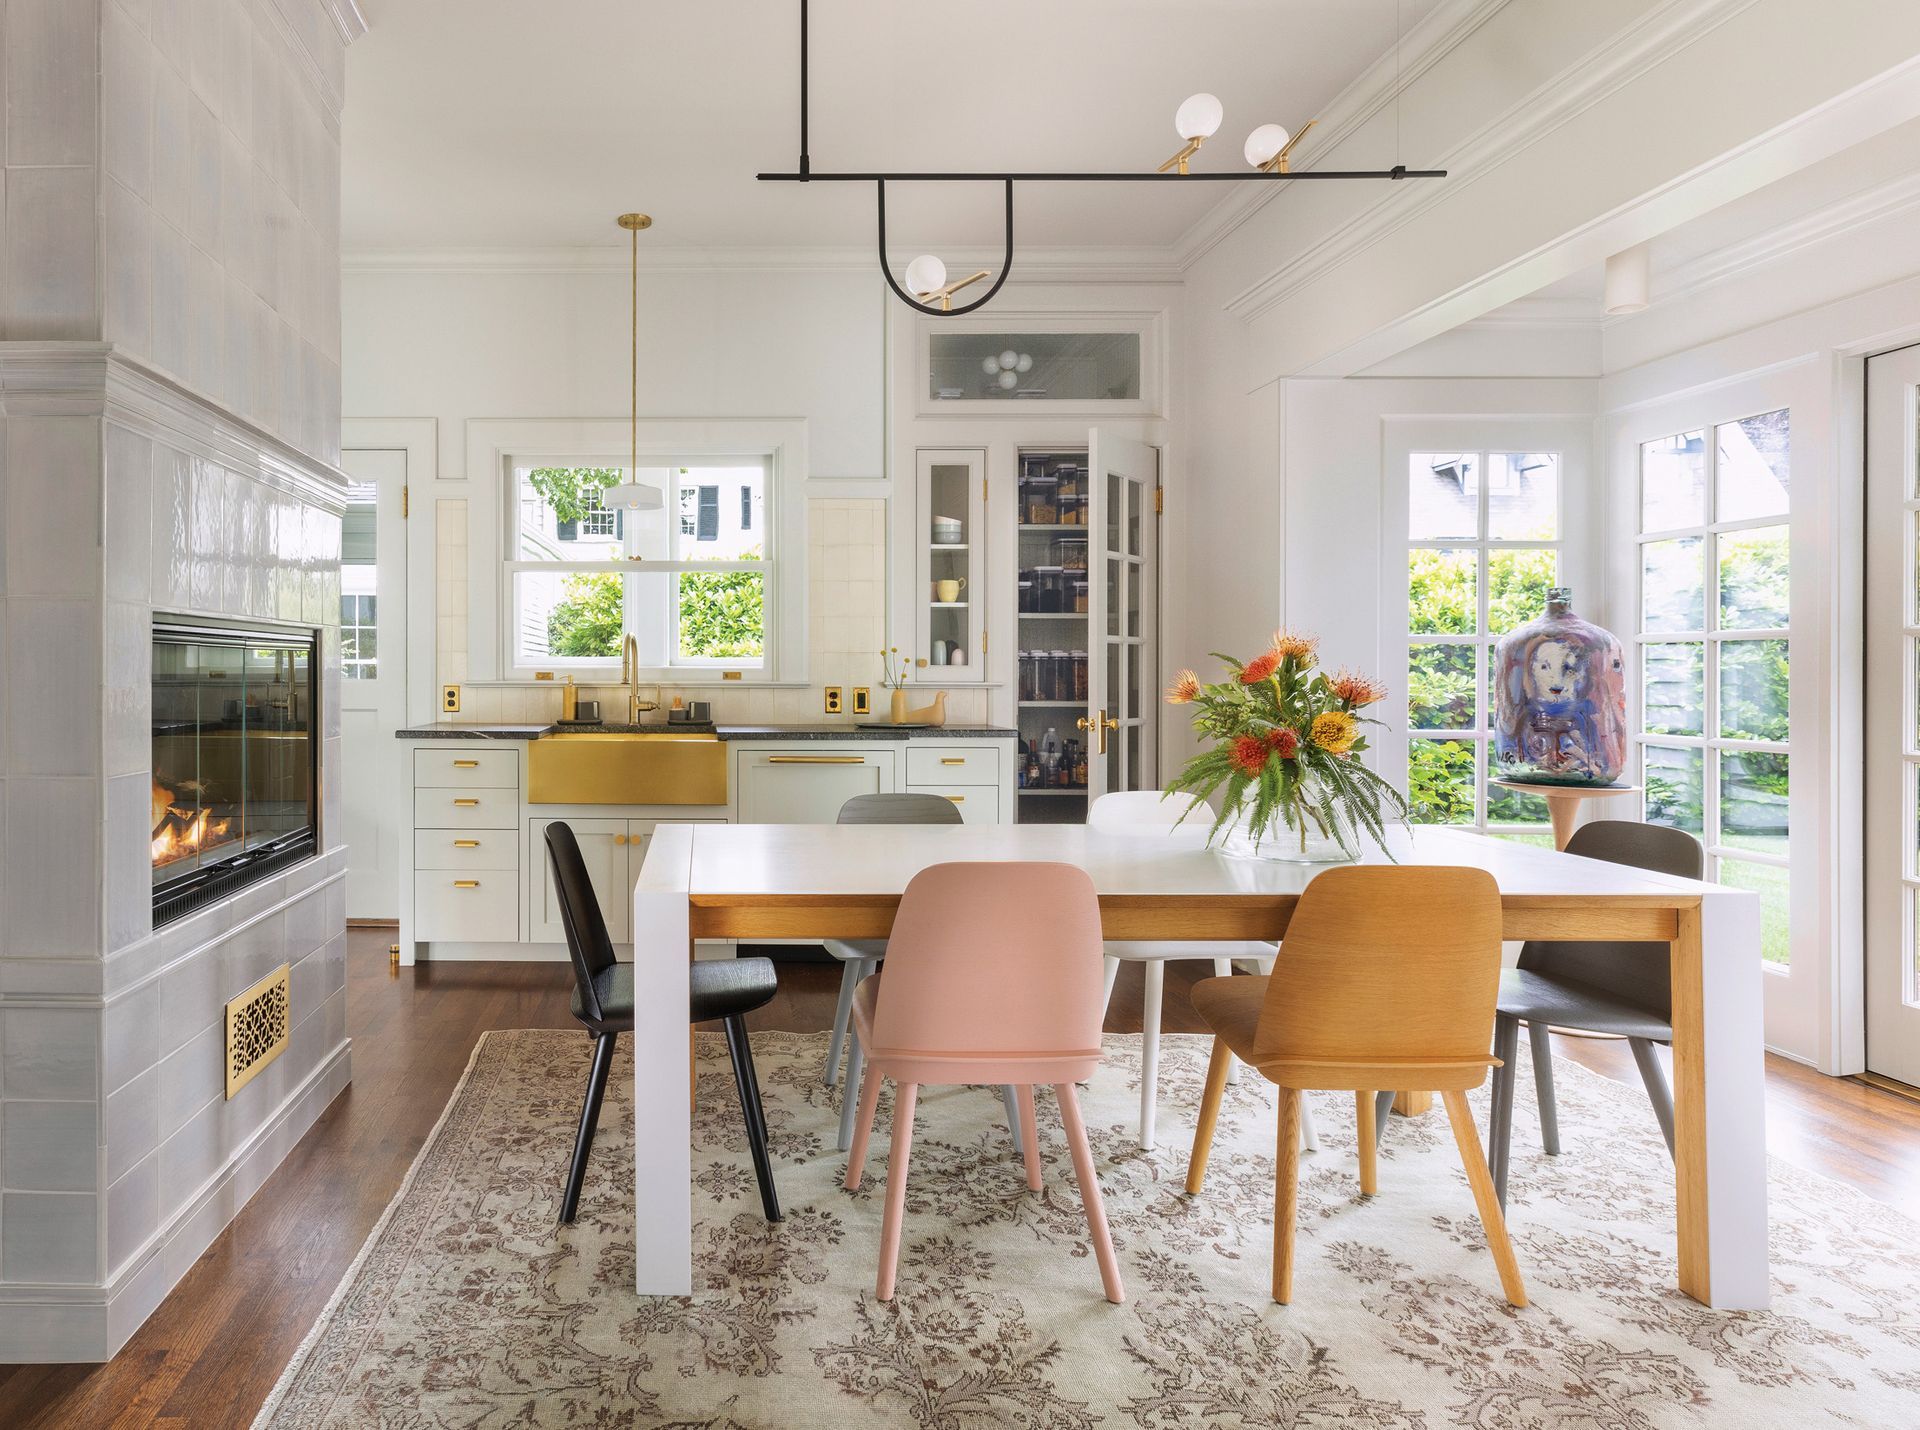
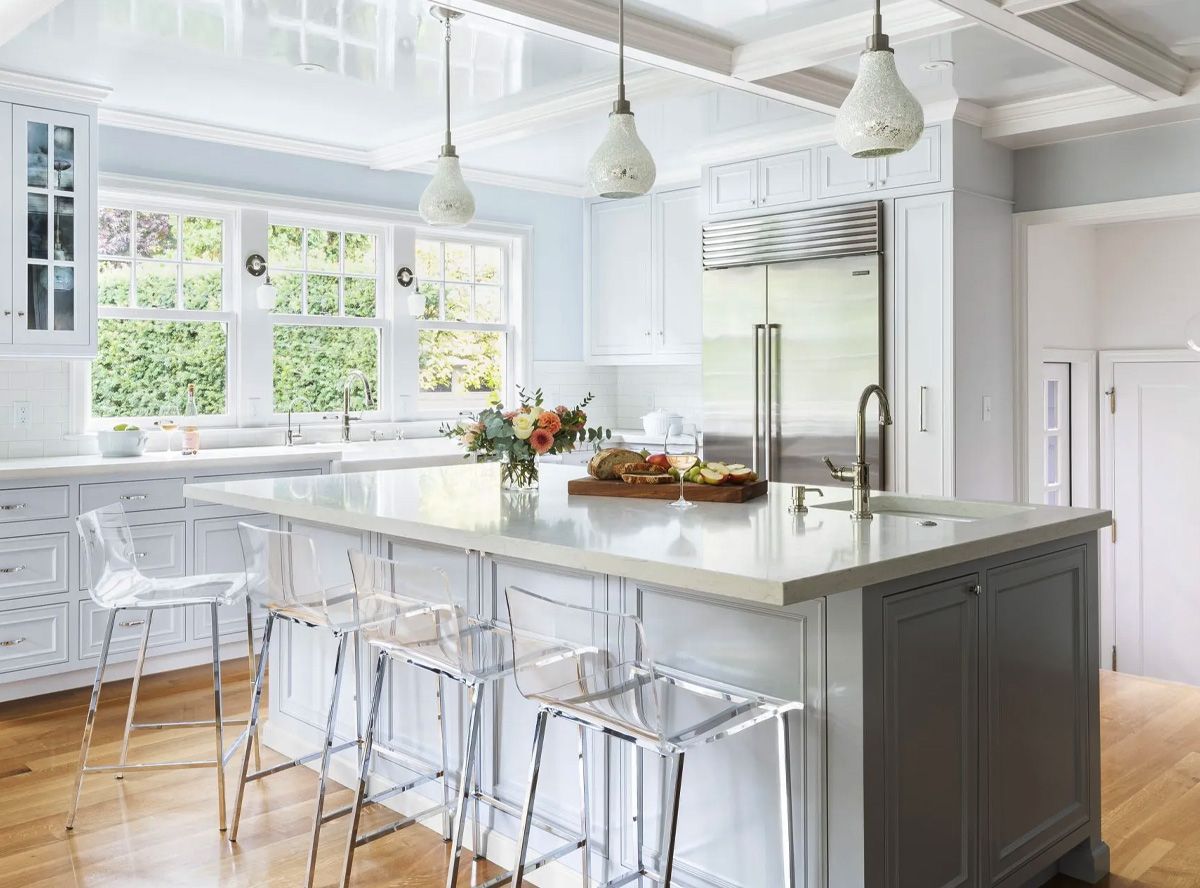
One of the client’s main goals was to open up the kitchen with an addition off the back of the house. After coming up with a few preliminary designs, Kristyn presented the client with some options like the one above here in the design office. This first design meeting covers the schematics and general layout of the design. You will get to see what it feels like to be in your remodeled space.

Sometimes it can be hard to visualize your remodel from just a floor plan; luckily, the program we use enables you to see perspectives like the one above which are very true to how the final product will look.
Step 4: Details, details, details!
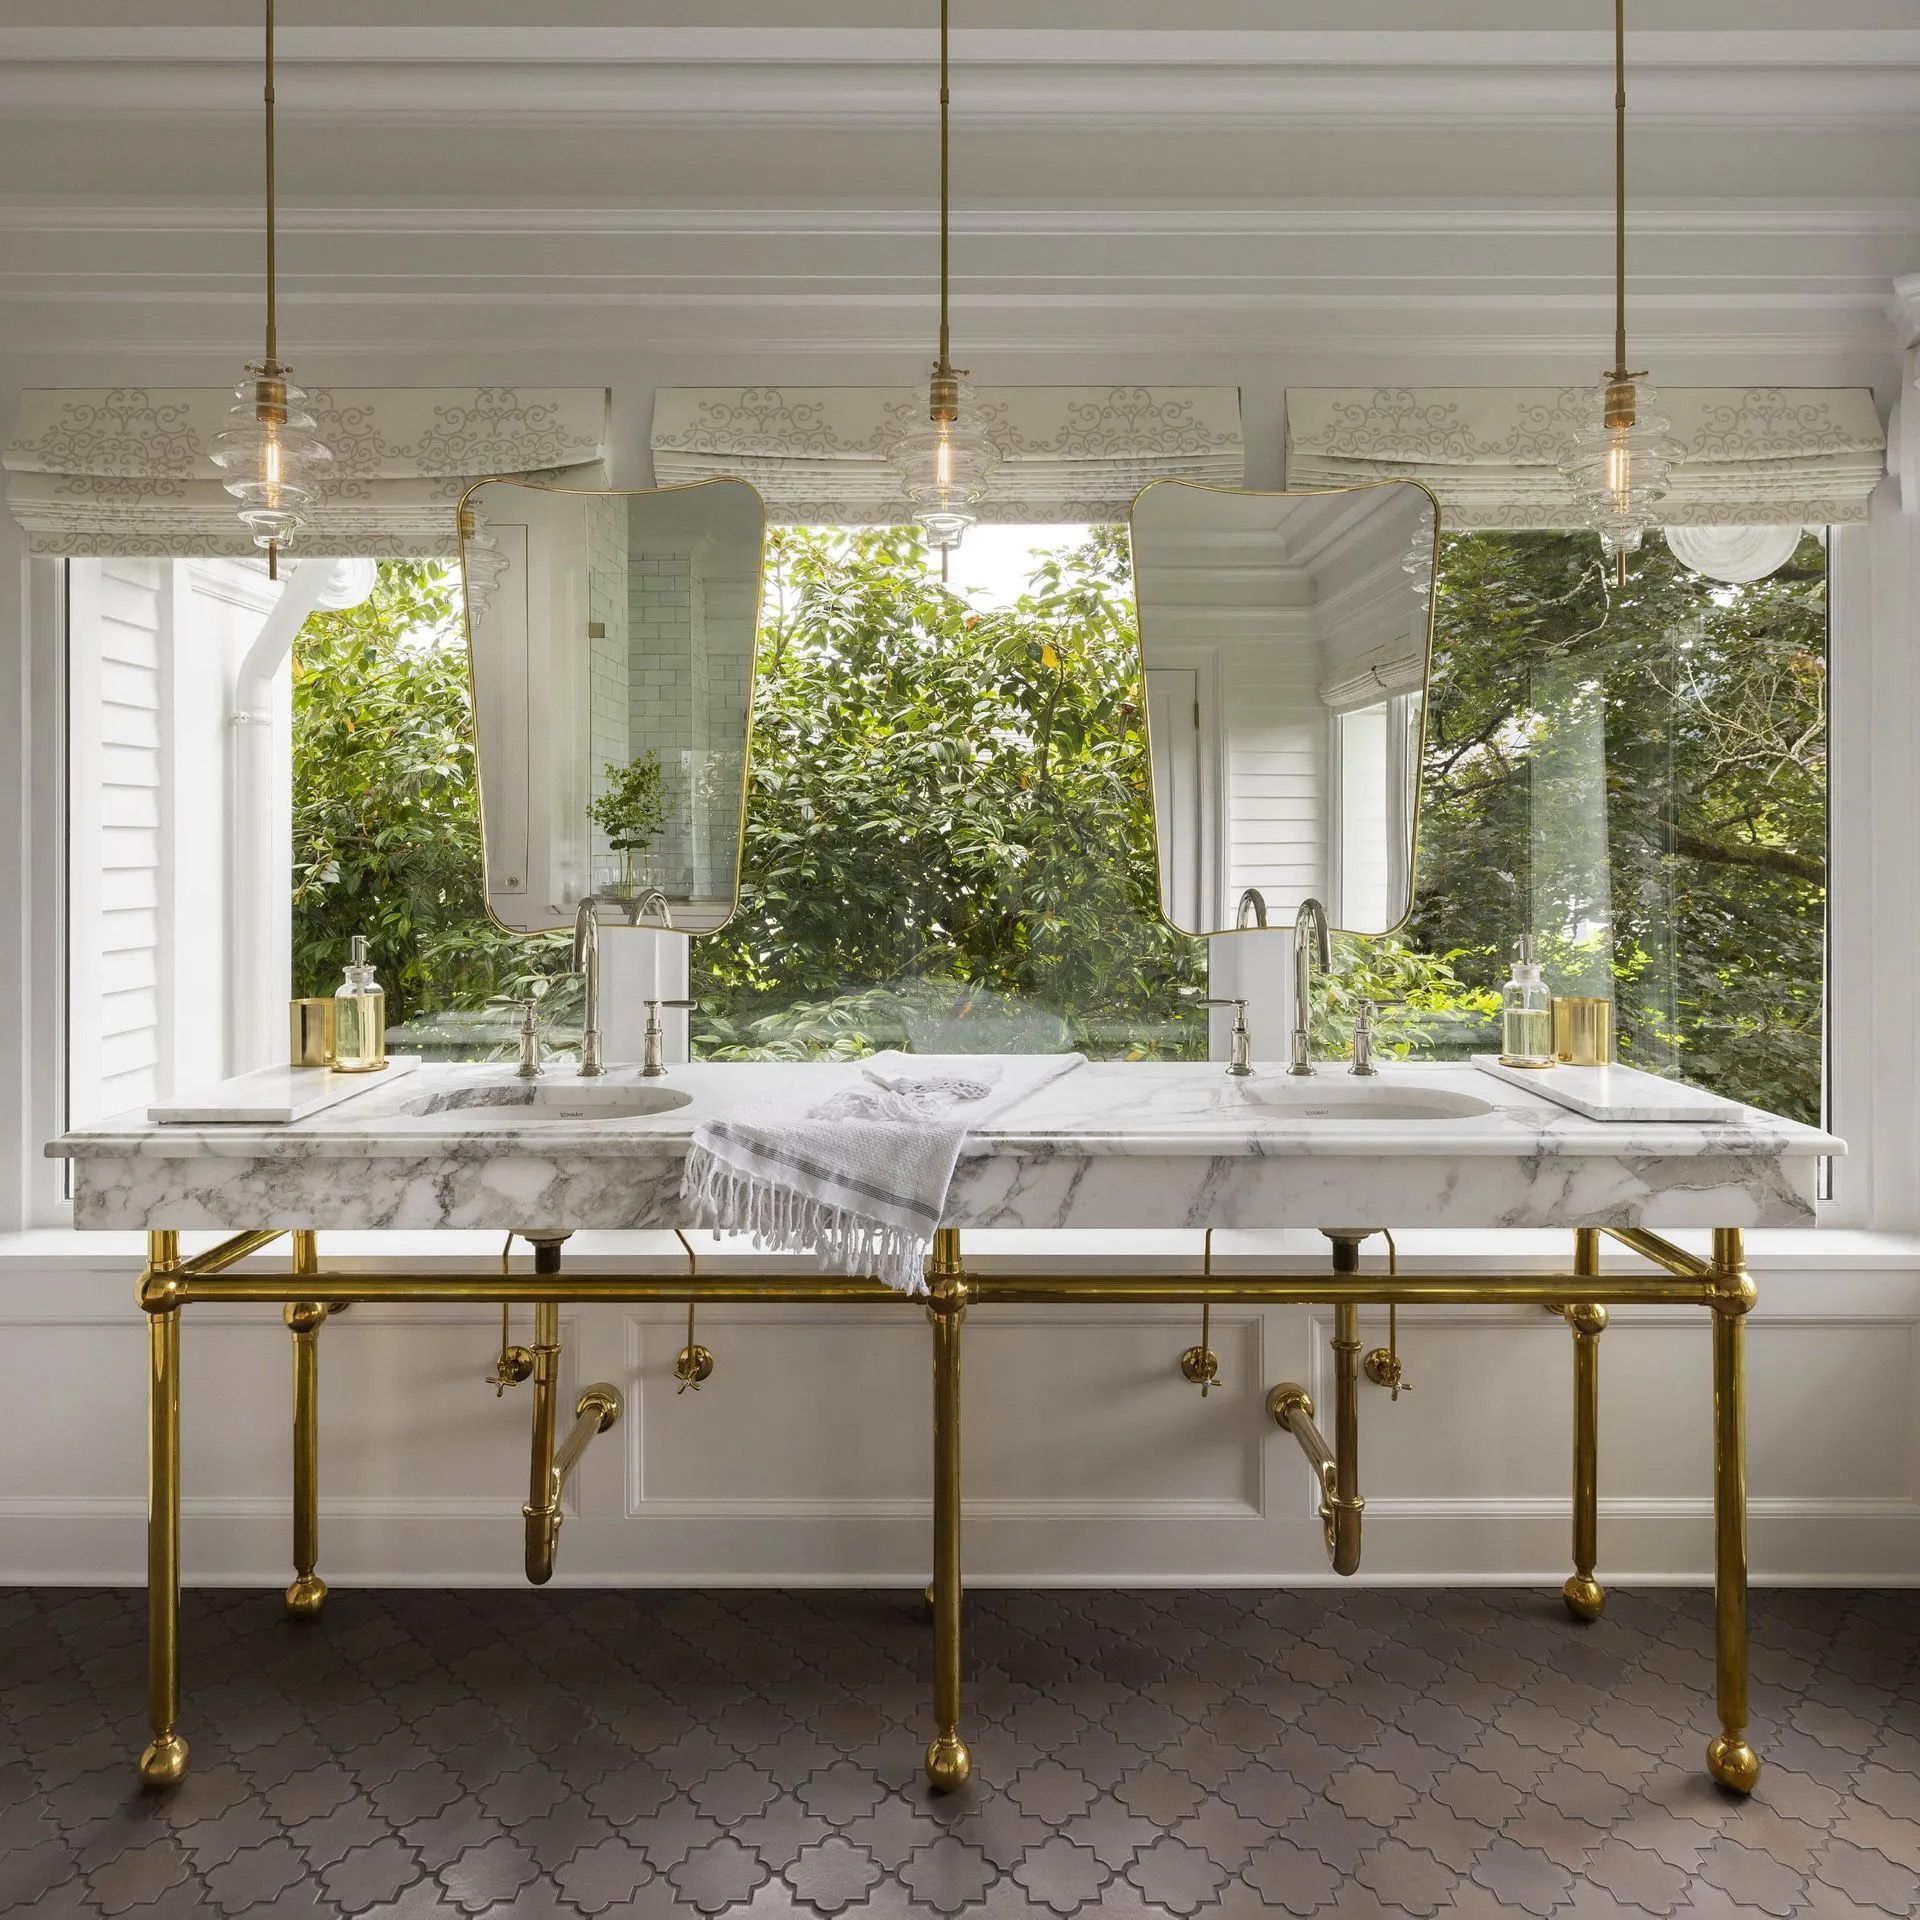
The steps following the first meeting can be very fun, or at least we designers think so! We will pick out the materials, finishes and fixtures that give the remodel flare and character. You can have as little or as much involvement in this process as you like. We find Pinterest to be a particularly great tool for clients and designers to use during the initial design stages; see the joint board that Senior Designer Kristyn Bester and the client started together here.
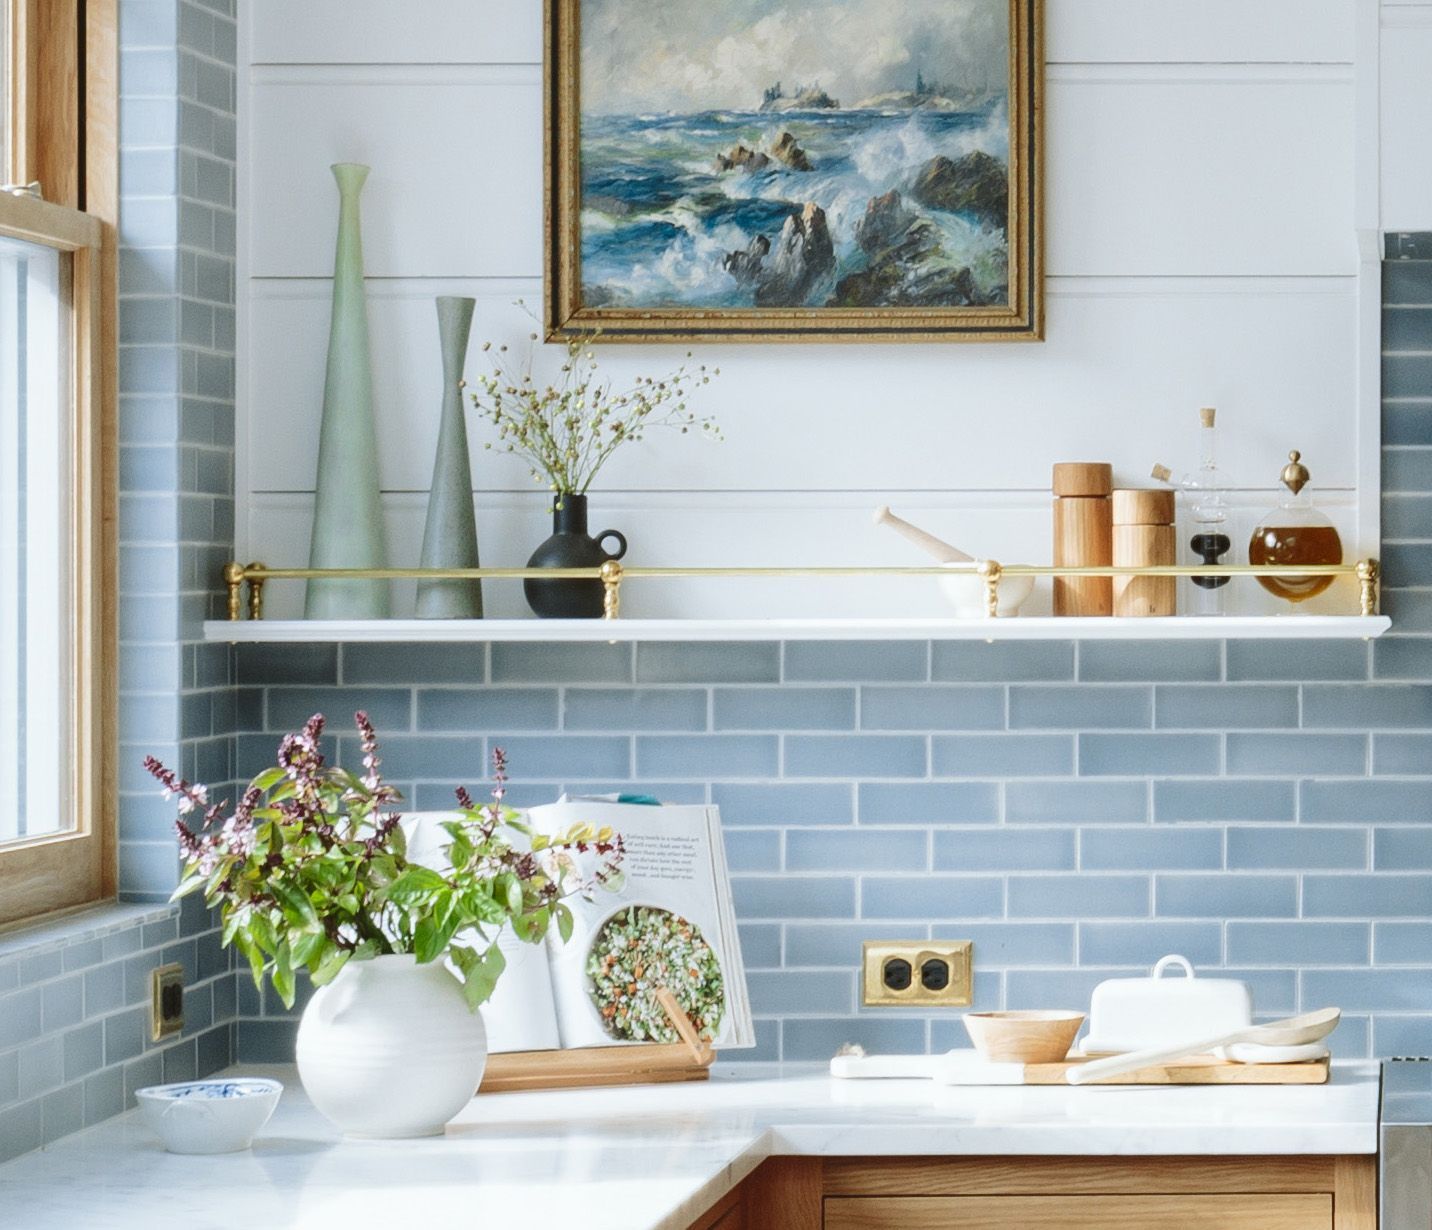
Once the space planning and layout for the kitchen and the nook addition was complete, it was time to get into the details of the plans and specifications. The specifications help to create a purchasing “to-do” list for the items which need to be selected. The plans include elevations of all walls to help detail out spatial needs for the rooms affected, including any special notes of concern for our field crew. Designers will often sit down with the client to go through each elevation within the remodeled space, addressing any aesthetic and spatial concerns.

This elevation example shows the type of details that need to be addressed which aren’t always easy to see in plan view, such as how the lights & shelves line up and the relationship between vertical elements such as backsplash and mouldings.
The final phase of design is the technical jargon that provides “instructions” for what is to be built and what that entails, such as permitting and engineering and the like. Stay tuned!
-Tara Keefner, co-author
See More Stories